
Log Home Chinking in Jackson Hole
- Serving Teton County since 2008
- Licensed & insured crews
- Free on-site assessment
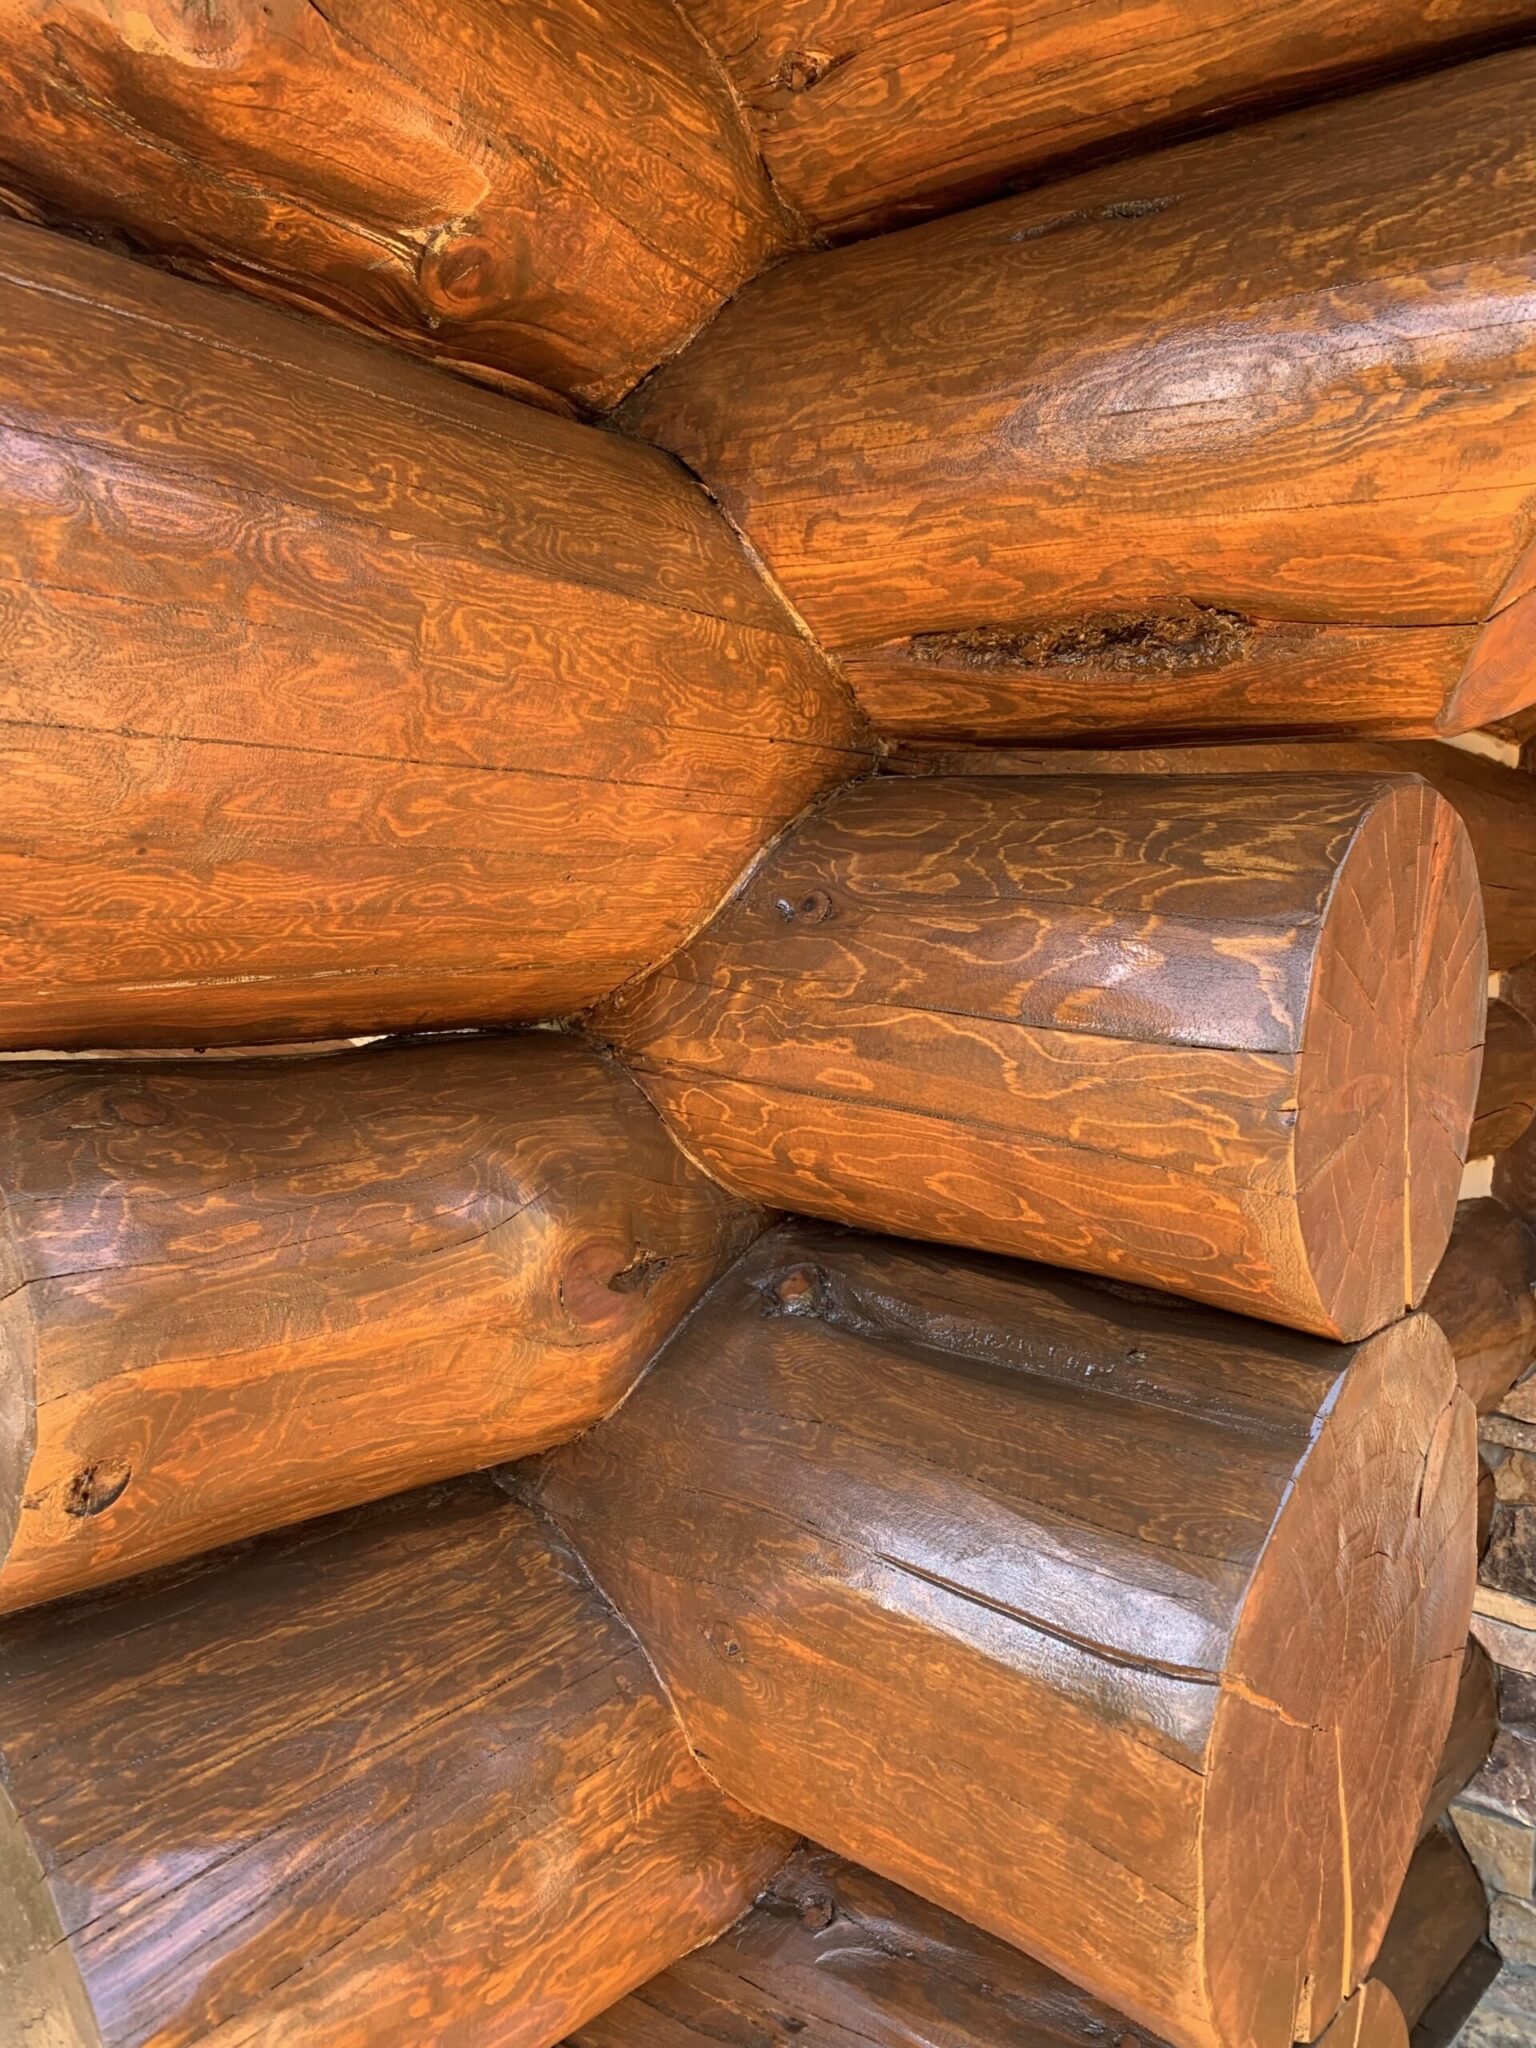
What is chinking?
Log home chinking is the flexible sealant that fills the horizontal gaps between the logs of a log home. It bonds to the log on both sides of the joint and stretches as the logs move with temperature and moisture, keeping weather, air, and insects out. Modern chinking is an elastomeric acrylic — not mortar.
The distinction matters. Log homes built before the 1980s were chinked with cement mortar, which does not move. Logs do. Every season the log swells and shrinks, the rigid mortar cracks away from the wood, and water runs into the gap it leaves behind. That water is what rots sill logs and log ends.
Elastomeric log home chinking solves the problem by staying flexible for decades. Applied correctly — bonded to two surfaces, never three — it stretches and recovers through every freeze-thaw cycle a Teton County winter can produce.
Chinking vs. caulking
Log home chinking seals the wide horizontal joints between logs. Caulking seals the narrow gaps — checks, corner notches, butt joints, and window and door trim. Most log homes need both, and using one where the other belongs is the single most common failure we get called to fix.
| Chinking | Caulking | |
|---|---|---|
| Joint width | Wider than ⅜" | Narrower than ⅜" |
| Where it goes | Horizontal log-to-log joints | Checks, corner notches, butt joints, trim, window and door perimeters |
| Look | Textured, matte, reads as part of the wall | Smooth, low-profile, meant to disappear |
| Movement | Engineered for high elongation across a wide joint | Lower elongation, adequate for narrow gaps |
| Backing | Backer rod required — bond to two sides only | Backer rod or bond breaker in any joint with depth |
| Typical service life | 20+ years when installed correctly | Shorter; expect to inspect and renew sooner |

The three-point bond is the failure. If chinking bonds to the top log, the bottom log, and the backing behind it, it has nowhere to stretch. The first hard temperature swing tears it. Backer rod exists to prevent exactly this, and skipping it is the shortcut that puts most re-chinking jobs on our schedule.
Six signs your chinking has failed
Log home chinking fails visibly before it fails structurally. If you can see any of these six things from the ground, water is already getting into the joint.
It has pulled away from the log
A dark line between the chinking and the wood — even a hairline — is an open channel. Wind-driven rain and snowmelt run straight down it.
It is cracked, chalky, or crumbling
Old mortar chinking crumbles. Failed acrylic goes chalky and loses elasticity. Both mean the joint is no longer sealed.
Daylight or a draft at the joint
Stand inside on a bright day with the lights off. Any light through a joint is an air leak, and air leaks are what your heating bill is paying for.
Staining below the joint line
Gray or black streaking down the log face below a joint means water has been running there long enough to feed fungus.
Insects at the joint
Carpenter ants and wasps find failed chinking before you do. Sawdust at the base of a wall is a late-stage signal.
Soft wood at the joint edge
Press a screwdriver into the log just below a joint. If it sinks, you are past chinking and into log rot repair.
Our re-chinking process
Re-chinking is roughly 70% preparation and 30% application. The joints have to be clean, dry, and correctly backed before a single bead goes on — which is why the crews that skip prep are cheaper and why their log home chinking is back on our schedule in three years.
- 01
Inspection and joint survey
We measure total linear footage, joint widths, and the condition of the existing material, and we probe for rot at the joint edges. Thermal imaging finds the air leaks and moisture you cannot see from a ladder.
- 02
Removal of failed material
Old mortar, failed acrylic, and any foam someone stuffed in a joint comes out completely. Partial removal traps moisture behind new material.
- 03
Surface preparation
Joints are cleaned back to sound wood. Where the log surface is oxidized or the old stain has failed, media blasting is the right prep — chinking will not bond to a dead surface.
- 04
Rot repair and backer rod
Any compromised wood is repaired or replaced first. Then closed-cell backer rod is set to the correct depth so the chinking bonds to two surfaces and can stretch.
- 05
Application
Chinking is gunned into the joint at a consistent depth, then tooled to compress it against both log faces and set the finished texture.
- 06
Cure, inspection, and finish
Material cures before any stain goes over it. We walk the full elevation with you and correct anything that is not right before we leave the property.
What we use, and why
There are four or five log home chinking systems worth using on a high-altitude log home and a long list that are not. Product choice is driven by joint width, expected movement, exposure, and the stain system going over it.
The two manufacturers that set the standard in this category are Sashco, maker of Log Jam, and Perma-Chink Systems. Both publish their elongation, joint-width, and temperature specifications openly, which is the right way to judge a sealant — and the reason a contractor who will not tell you what they are gunning into your wall is worth a second question.
What chinking costs in Teton County
Log home chinking is priced by the linear foot of joint, not by the square foot of house. In Teton County a full re-chink — removal of the failed material, prep, backer rod, and application — runs $12 to $22 per linear foot. A typical log home here carries 1,200 to 2,800 linear feet of exterior joint, which puts most full-perimeter projects between $18,000 and $55,000. Removal, rot found at the joint, and difficult access are the three things that move a quote most.
The spread is wide because the work is. A single-story home with uniform joints and failed acrylic sits near the bottom. A two-story with cement mortar to chip out, rot in the sill logs, and a walkout elevation that needs scaffolding sits at the top. Both are the same service.
What moves your number
Every one of these is measurable on a site visit. None of them is a guess.
- Linear footageThe base unit. Measured joint by joint, including gable ends and dormers — not estimated from square footage.
- Joint width and consistencyWide, irregular joints take more material and more tooling time than uniform ones. Hand-hewn and reclaimed logs cost more than milled.
- RemovalCement mortar removal is slow, manual work and often the single largest variable. Failed acrylic comes out far faster.
- Rot found at the jointAnything soft has to be repaired before sealing. Caught early it is a patch; caught late it is a log replacement and a different budget.
- Log species and surface conditionOxidized or over-stained surfaces need media blasting first — chinking will not bond to a dead surface.
- ExposureSouth and west elevations take the UV and weather load and routinely need more work than the sheltered sides of the same house.
- AccessTwo stories over a walkout, steep grade, or tight tree lines mean scaffolding and lift time on the invoice.
- SeasonChinking has a temperature and moisture window. In this valley that is realistically late spring through early fall, and late-season work carries schedule risk.
We put the number in writing after a site visit, itemized by elevation, so you can see what you are paying for and what can wait a season.
Derived from two independent industry sources: a national professional rate of $8–15 per linear foot for chinking and caulking, and a labor-plus-material build-up of roughly $9.45 per linear foot for new chinking without removal. I added a Teton County premium for remote mountain labor, the short working season, estate-property access, and the removal step that neither source includes. Linear footage assumes a 160–200 ft perimeter at 14–19 horizontal joints. If your actual numbers are different, they win — send them and I will change one line. Publishing real ranges is the single highest-leverage content decision on this site; nobody else in log restoration does it.
are actually doing.
Chinking questions we get asked
How long does log home chinking last?
Correctly installed elastomeric log home chinking should last 20 years or more. What shortens it is almost never the product — it is a three-point bond, a dirty joint, or application outside the temperature window. Chinking that fails inside five years failed at installation.
Can I chink over the old chinking?
No. New log home chinking will not bond through failed material, and anything left in the joint traps moisture against the log. Full removal is the job.
Do you have to re-stain after chinking?
Not always, but the two should be planned together. Stain and log home chinking have to be compatible, and the order matters — getting it backwards means doing one of them twice.
What time of year can chinking be done?
There is a temperature and moisture window for application and cure. In Teton County that realistically means late spring through early fall, and late-season projects carry schedule risk if weather turns.
Is chinking the same as caulking?
No. Chinking seals the wide horizontal joints between logs; caulking seals narrow gaps like checks, corner notches, and trim. Most homes need both, and using one where the other belongs is the most common mistake we are called to correct.
How do I know if it is chinking or rot?
Press a screwdriver into the log just below the joint. Firm wood with a failed seal is a chinking job. Wood that gives is rot, and it needs to be addressed before anything gets sealed over it.
Related services
Media Blasting
Corn cob and crushed glass strip failed stain and oxidized fiber without gouging the log. Chinking will not bond to a dead surface.
Media blasting StructuralLog Home Repair
Soft wood at a joint edge has to be repaired before anything is sealed over it. Found early it is a patch; found late it is a log.
Log rot repair FinishStaining & Refinishing
Stain and chinking have to be compatible and applied in the right order. Planned together, you do each of them once.
Staining